


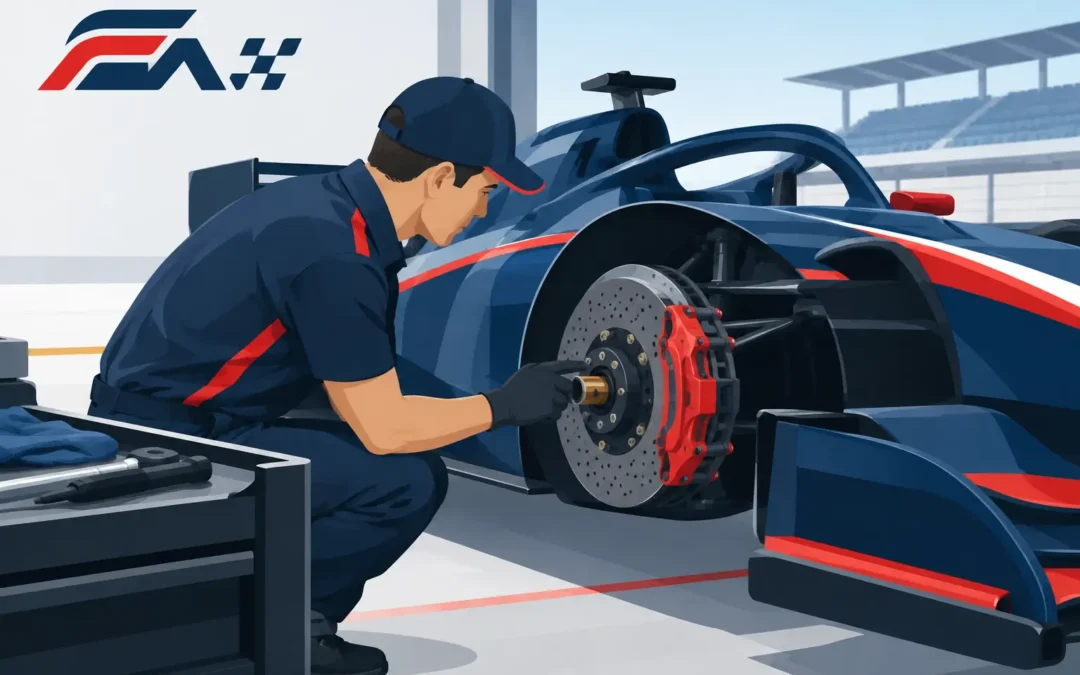
A brake issue rarely introduces itself politely. It appears as a longer pedal after a driver change, a steering wheel tug under braking, a new vibration into the corner, or a wheel that is too hot to touch after a short run. For a Formula Student team, knowing how to inspect racecar brakes is not just a scrutineering task. It is the habit that protects drivers, preserves test time, and gives your vehicle data that can actually be trusted.
A useful inspection is not a quick glance through the wheel spokes. It is a repeatable process, performed by people who know what normal looks like and who document what changes. Build it into your pre-run preparation, post-run debrief, and workshop routine.
Start Safe, Cold, and Supported
Inspecting brakes immediately after a hard run can be necessary, but it changes the risk and the information available. Hot discs, calipers, and wheels can burn skin, while a hot system may hide the free movement or fluid condition you would notice when cold. Let the car cool when possible, then secure it on appropriate stands with the wheels free to rotate.
Before removing anything, ask the driver what they felt. Was the pedal firm? Did the car pull left or right? Did braking performance change late in the run? Did the brake balance feel different as tires warmed? A driver report does not diagnose the problem, but it gives the inspection a direction.
Record the setup before you touch it. Note the pad compound, disc condition, brake bias setting, master cylinder configuration, tire set, and any recent changes. A team that can compare today’s inspection to the last successful test is far faster than one relying on memory.
How to Inspect Racecar Brakes Systematically
Work from the pedal box outward. That order helps you catch problems in the control system before focusing on the components at each corner.
Check pedal travel and balance-bar movement
With the car stationary, press the brake pedal firmly and smoothly. The pedal should build pressure predictably, without sinking toward the floor while held. Excessive travel can point to air in the system, pad knock-back, a fluid leak, insufficient reservoir volume, or a mechanical issue in the pedal assembly.
Inspect the pedal pivot, pedal stop, return spring, pushrods, and master cylinder mounting. Look for loosened hardware, bending, interference, or witness marks where moving components have contacted the chassis. On a dual-master-cylinder system, inspect the balance bar for free, correct movement and secure retaining hardware. A balance bar that is misadjusted, binding, or poorly retained can create an unpredictable brake response.
Do not assume a hard pedal means the system is healthy. A firm pedal with low braking performance may indicate contaminated pads, an unsuitable pad compound, glazed friction surfaces, poor tire grip, or an incorrect brake-bias setup. Pedal feel and braking capability are related, but they are not the same measurement.
Inspect fluid, reservoirs, and hydraulic connections
Check brake-fluid level against your team’s established cold reference. A falling level may simply follow pad wear, but a sudden change demands an explanation. Never top up fluid and move on without checking pad thickness and looking for leaks. Overfilling a reservoir with worn pads can create a spill when fresh pads are installed later.
Examine the fluid’s appearance and review its service history. Darkened fluid is not a complete diagnosis, but fluid exposed to repeated high temperatures or moisture should be changed according to your maintenance plan. Use only the fluid specification approved by your team and compatible with every seal in the system. Mixing fluids casually is an avoidable reliability risk.
Trace every line from master cylinder to caliper. Look for wetness around fittings, hoses, bleeder screws, and caliper seals. Inspect flexible lines for abrasion, kinks, swelling, cracking, and inadequate clearance through steering and suspension travel. On a formula-style car, a line may look safe at ride height but rub the tire, upright, or suspension member at full lock or full bump.
Check line mounting and strain relief as carefully as the hose itself. A secure fitting on a line that can vibrate against carbon, aluminum, or steel is a future failure waiting for a long endurance run.
Measure pads, not just remaining material
Remove the wheel when access is limited and inspect both pads at every corner. Measure friction material thickness at multiple points, then compare inner and outer pads as well as left and right sides. Uneven wear can reveal a sticking piston, caliper misalignment, disc runout, uneven cooling, or a setup issue that is loading one end of the car harder than expected.
Look beyond thickness. Replace pads that are cracked, crumbling, oil-soaked, severely glazed, separating from the backing plate, or heat-damaged. A pad with material remaining can still be unusable. Also inspect pad retaining pins, springs, clips, and abutment surfaces. If a pad cannot move freely in its intended direction, it can drag, taper-wear, or fail to retract consistently.
Teams should define a conservative replacement limit rather than waiting for the backing plate to become visible. The right margin depends on event length, pad compound, vehicle mass, driver style, and cooling performance. For competition, the goal is not to finish the pad. The goal is to finish every dynamic event with repeatable braking.
Read the discs for heat and damage
Inspect both disc faces for scoring, cracks, heat checking, grooves, discoloration, and uneven contact patches. Fine surface marks may be normal for a given pad-disc pairing. Cracks that extend toward an edge, vent, mounting feature, or swept area are not something to rationalize away.
Measure disc thickness at several locations using the correct tool and compare it with your design limit and manufacturer guidance. Also check disc runout if the driver reported pulsation or if wear patterns suggest the disc is not running true. Runout can be caused by mounting-face contamination, distorted hardware, hub issues, or disc damage.
Brake discs tell the story of thermal management. Blueing, heavy heat spotting, or repeated cracking may mean the team needs more than replacement parts. Review cooling, disc size, friction material, brake balance, driver technique, and the duty cycle of the test. More cooling can help, but it can also keep components below their intended operating range. As with every vehicle system, the answer depends on the whole package.
Confirm caliper condition and hardware security
Check caliper mounting bolts, brackets, safety wire or locking features where applicable, and all fasteners specified in your assembly documentation. Use your team’s torque procedure, not a visual guess. Look for paint-mark movement, fretting, distorted mounts, and contact between the caliper and wheel.
Inspect piston boots and seals for damage or fluid leakage. Confirm that pistons retract reasonably after the pedal is released and that the wheel rotates without abnormal drag. Some light pad contact is expected in many systems. A wheel that resists turning, however, needs investigation before the car returns to track.
If your car uses regenerative braking, include the mechanical-hydraulic interaction in the inspection. Verify that the system transitions predictably, that the required hydraulic braking capability remains available, and that software changes have not altered driver expectations or brake balance. Treat controls validation as part of brake safety, not as a separate electronics task.
Finish With a Functional Check
Once the system is reassembled, conduct a controlled pedal check and verify there are no leaks. Spin each wheel, apply and release the pedal, then confirm consistent resistance and release. Follow this with a low-speed brake test in a safe area before committing to a full dynamic run.
After the first run, inspect again while the observations are fresh. Compare rotor temperatures across corners if your team uses temperature measurement, check for fluid loss, and ask the driver the same specific questions. This feedback loop turns brake inspection from maintenance into vehicle development.
At FS Alpe Adria, the fastest teams are rarely the ones that react best to a failure. They are the teams that create disciplined systems before failure gets a chance. Build a brake-inspection routine that every new member can learn, every driver can trust, and every engineer can improve after each lap.